
One of the most commonly used masonry anchors nowadays is a sleeve anchor. Also called Dynabolt, it’s a mechanical expansion anchor that can affix loads that weigh 100 kg and more. The reason why they’re also called Dynabolts is because the brand name popularized by Ramset has taken the world of construction by storm and now everyone calls sleeve anchors, Dynabolts. Because of their simple design, they are easy to install and thus have become quite widespread. Because of this, sleeve anchors come available in different designs suitable for different applications.
Types of Sleeve Anchors
Flat-Head
The most visually appealing sleeve anchors are flat-head anchors which when installed come flush with the surface. This design doesn’t compromise any of the anchor’s capabilities, especially its weight-bearing strength. This is why a flat-head Dynabolt sleeve anchor is commonly used on doors and similar fixings that need to look good and not just be functional.
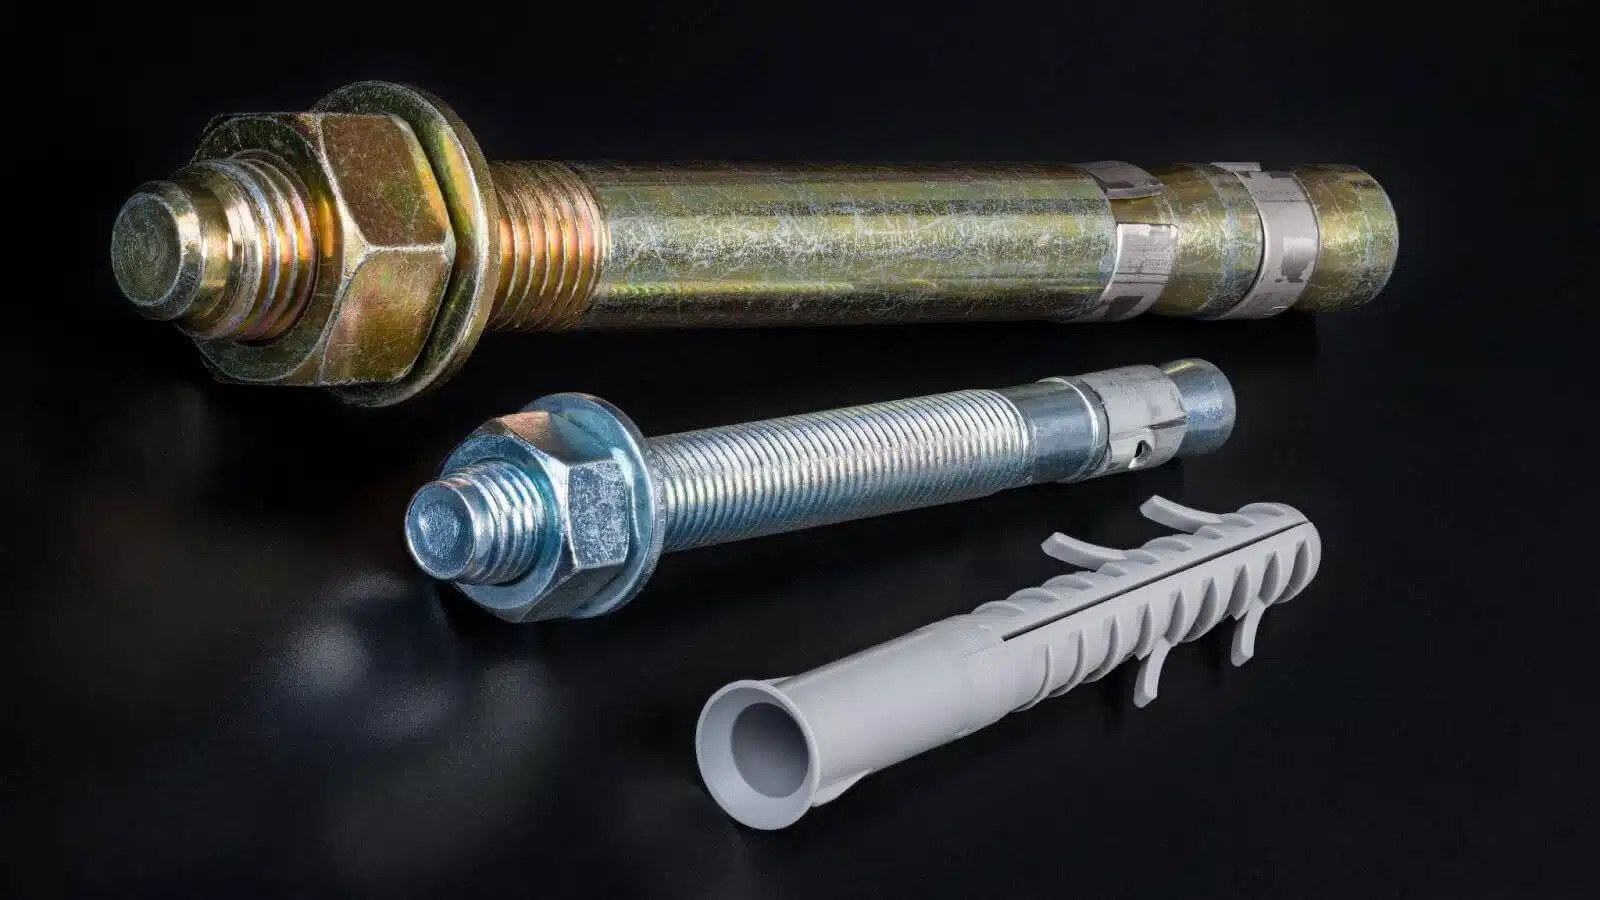
Nut-Driven
Typically made of stainless steel, a nut-driven sleeve anchor fastener is much stronger than a flat-head anchor but it’s not as aesthetically pleasing. Its head protrudes quite a bit from the surface on which it’s installed but it’s the most reliable design as it usually comes made of stainless steel. If function matters more than design to you, then a nut-driven sleeve anchor is the more fitting solution of the two.
Cone & Expansion
When it comes to using anchors with excellent pull-out holding capacity a cone and expansion fastener is a great choice. Similar to a stud masonry anchor when it comes to expansion mechanism, a cone and expansion anchor is able to wedge itself in by expanding the pre-drilled hole against the wall which helps keep it safe from getting pulled out of it easily.
Shear
If you need a sleeve anchor fastener with the best shear load capacity you should consider using a shear anchor which is called that way because of its design alongside what it offers. The steel cylinder is what gives the anchor both its capabilities and its naming.
What Matters in Sleeve Anchors
Length
The length of a sleeve anchor fastener determines its capabilities and the applications it can be useful for. Long sleeve anchors, for instance, are useful when you’re working with thicker materials as they have better penetrating capabilities than shorter ones. Short sleeve anchors, however, are usually much stronger than longer ones. Still, you shouldn’t choose the length of your Dynabolt sleeve anchors on capabilities alone as the fastener should also fit the holes you’re making and the hardware you want to affix.
Expansion
The level of expansion a Dynabolt sleeve anchor is able to offer depends entirely on the size of the holes you make. The wider the holes the larger the expansion a sleeve anchor needs to provide otherwise it won’t stay in place or keep a hold of what’s being hung on it. This can pose a major safety risk too.
Spacing
If you’re going to be using multiple anchors in one area or on one structure, you should take into consideration the spacing between the anchors. A good rule of thumb is that you keep each anchor at least 10x of its diameter away from the following one. In case, the structure you’re installing the anchors on experiences frequent vibrations and impacts you should space the anchors even further away from each other.
How to Use a Sleeve Anchor
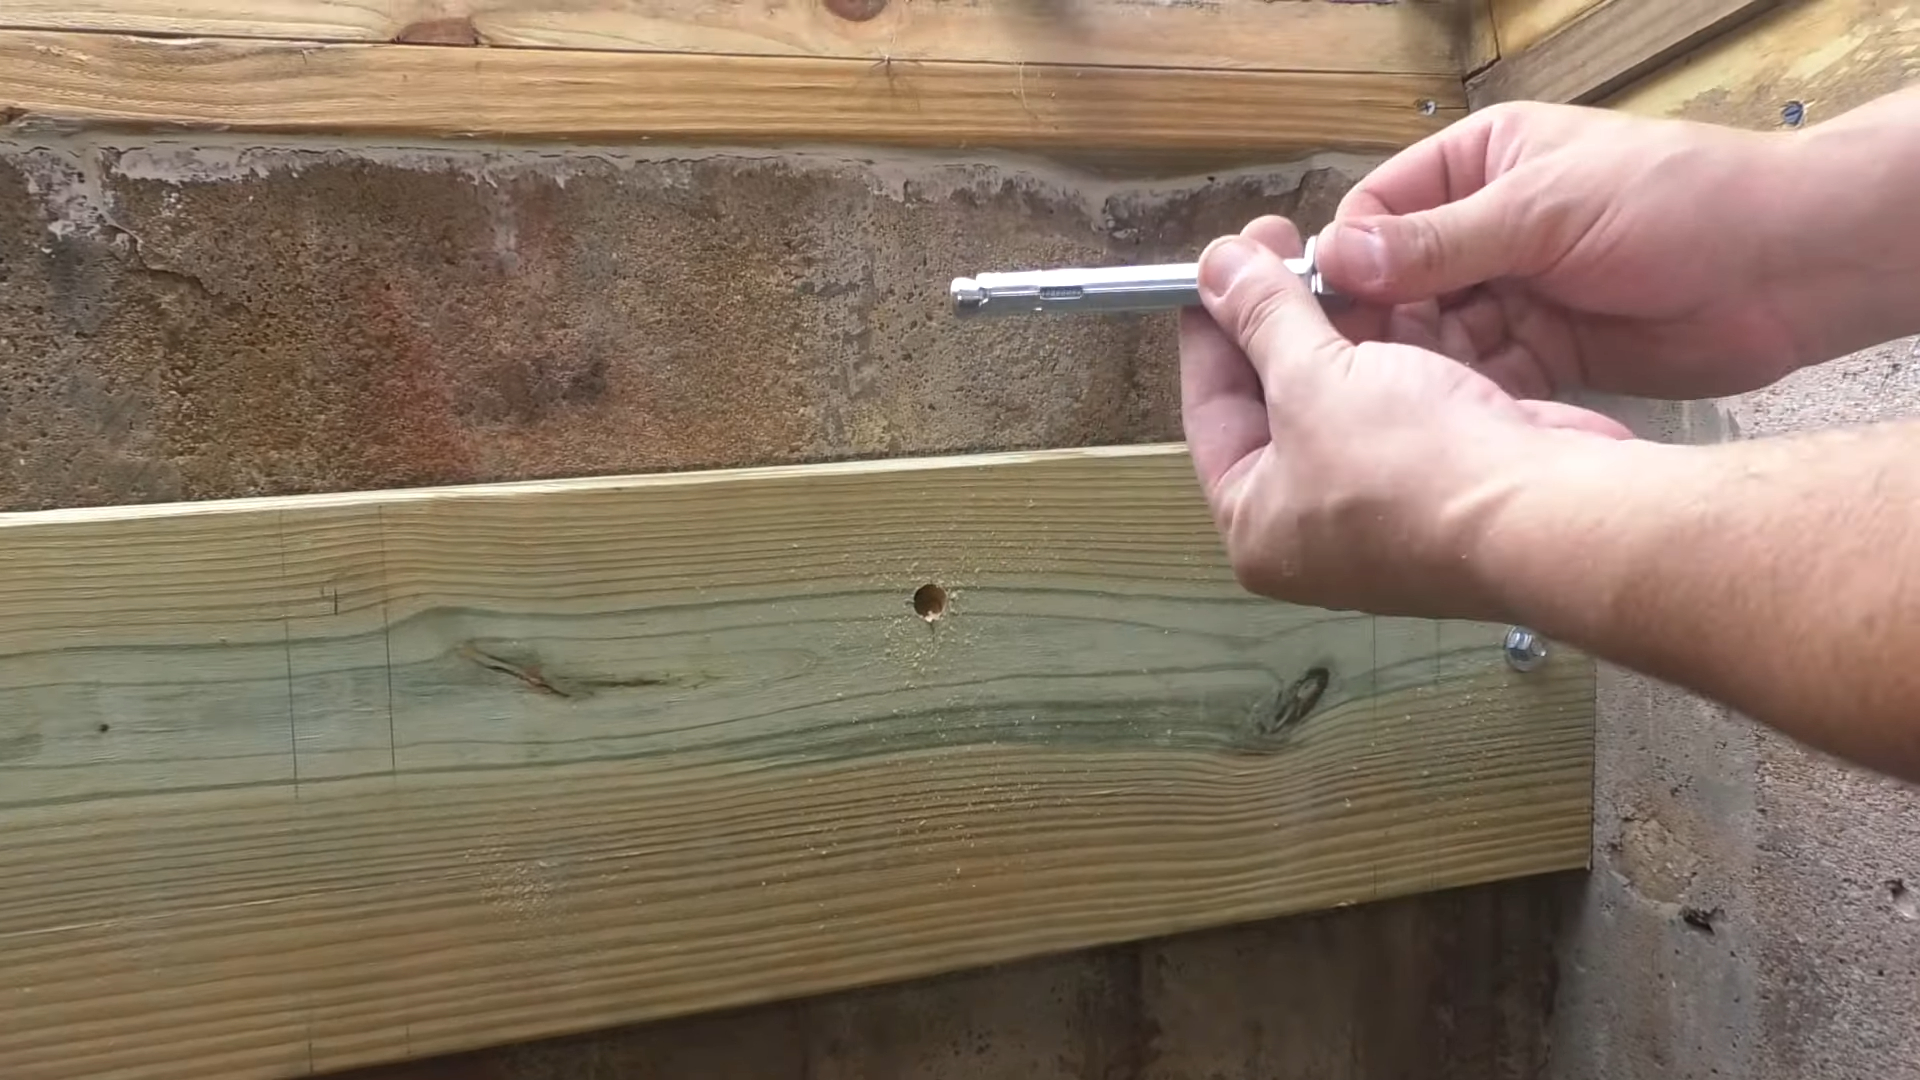
- Every installation process that involves masonry anchors in general, including Dynabolt sleeve anchors, requires that you first drill a hole. This is done by marking where the hole needs to be made be it in relation to other items or the edges of the structure you’re making the holes on.
- The hole itself should be anywhere from 1.2 cm to 2.5 cm deeper than the length of the anchor. The diameter of the hole needs to be ever so slightly wider than the anchor. The fitment is best when you insert the anchor in the hole with a bit of tape on it. Once you’ve drilled the hole, you should clean the debris that’s left in it. If you don’t do this the fastener won’t be able to secure itself into the wall and you’re then left with a potentially unsafe fixing.
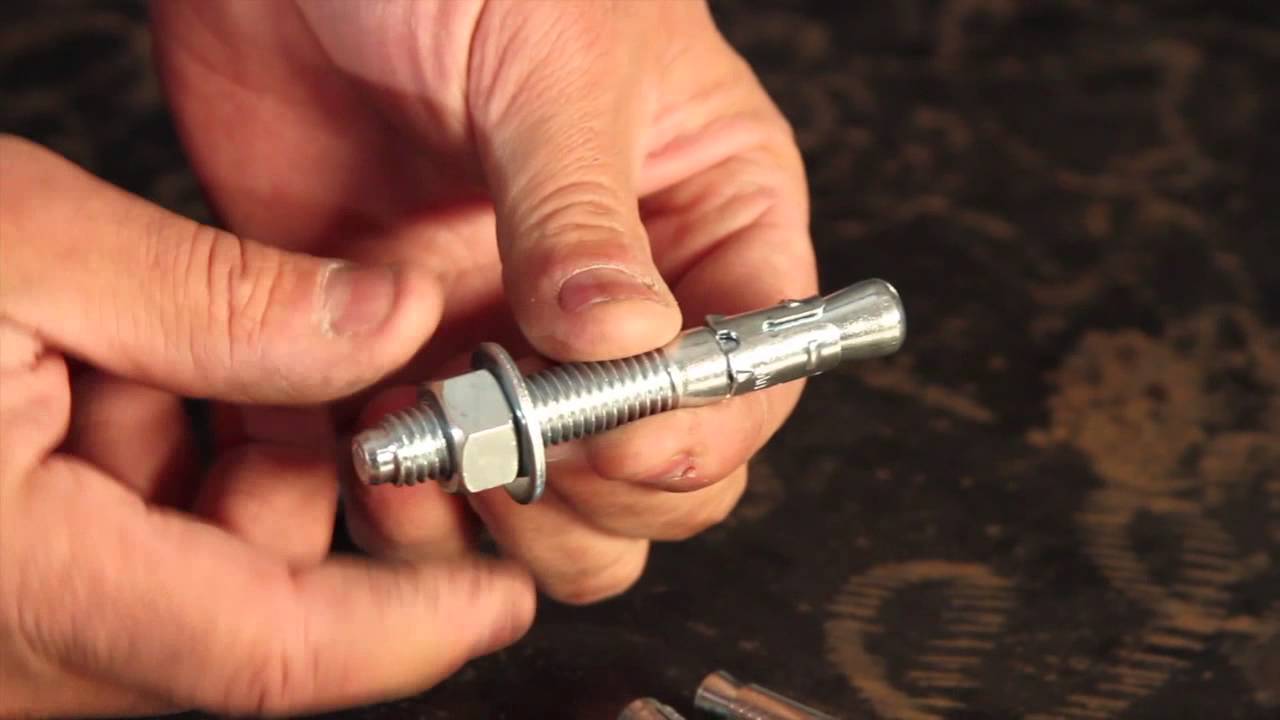
- Once the hole is made and cleaned off properly, install the anchor in it according to its expansion mechanism. Ensure that when installing the anchor, you have the nut placed in a way that the top of the thread is even with it. Insert the the body of the anchor while holding the nut in that position then just tap the anchor in place with a hammer.
- You’ll have the anchor inserted fully once the nut and the washer are flush with the fixing itself. Once in place, start by hand-tightening the nut and then when the placement is how you want it to be, tighten it fully with a wrench or screwdriver. Avoid over-tightening it.
